So, you're staring at that old bathtub and thinking, "Enough is enough," huh? Maybe it's chipped, stained, or just doesn't fit your vibe anymore. Swapping out a bathtub can feel like a huge undertaking, but honestly, it's totally doable if you know what you're getting into. I've been through my share of these projects over the years, right here in Covina, and I can tell you exactly what you need to consider before you even think about grabbing a crowbar.
Before You Start: Planning & Prep
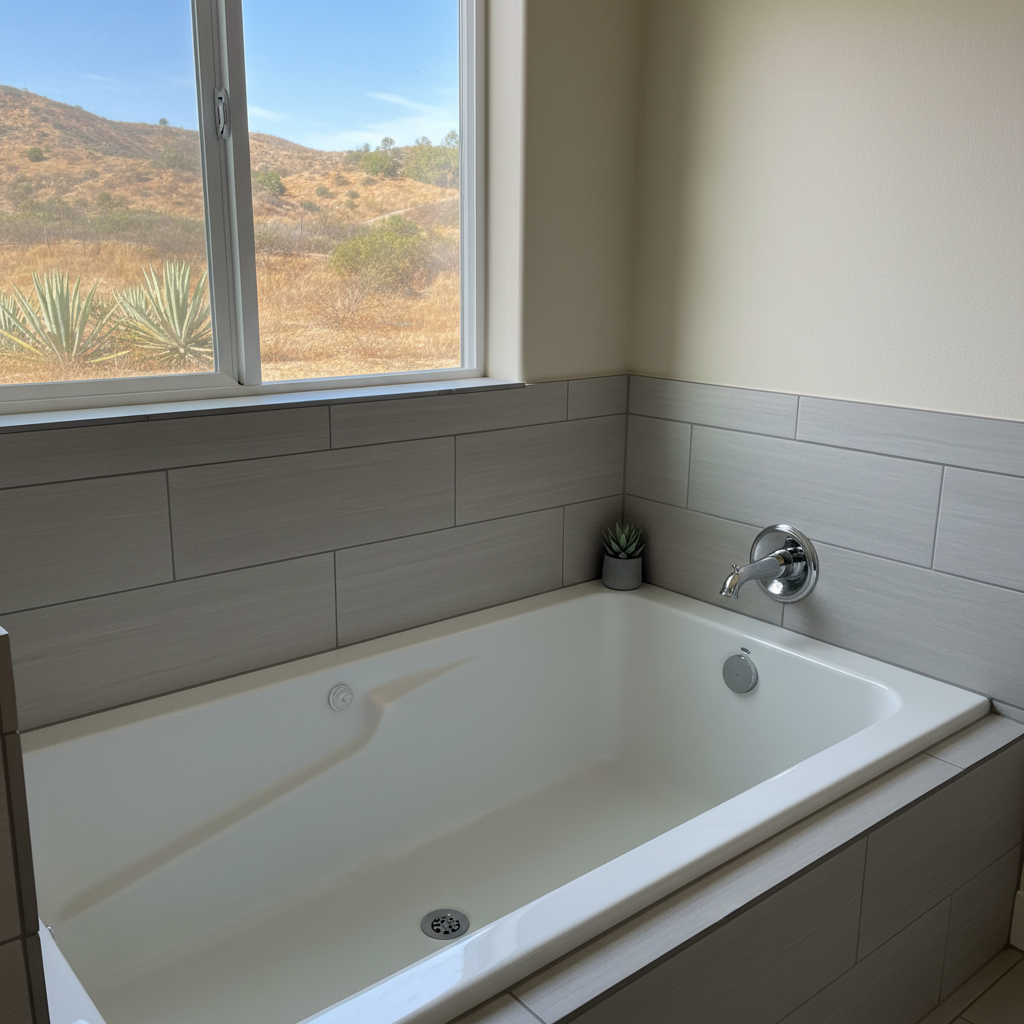
First things first: don't just go ripping the old tub out. You need a solid plan. What kind of tub are you putting in? A standard alcove tub, a big freestanding soaker, or maybe even a walk-in unit? This decision changes everything, from plumbing adjustments to how much space you'll actually need. Measure everything, and I mean everything, twice – the new tub, your bathroom door, even the hallway it has to travel through. You wouldn't believe how many times I've seen a beautiful new tub get stuck in a doorway because someone forgot that crucial step.
And hey, think about your subfloor too. Older homes, especially those built in the 50s and 60s around the Charter Oak area, often have plywood subfloors that might not be perfectly level or strong enough for a heavy cast iron tub. You might need to beef it up, and that's usually a job for someone who knows their way around a construction site. Also, consider the plumbing. Will the drain and overflow line up with your new tub? Sometimes a simple swap means they will, but other times you're looking at moving pipes, which means opening up walls. Not ideal, but sometimes necessary.
The Old Tub's Out: What You Can DIY
Alright, so the planning's squared away. Now for the fun part: getting the old tub out. This is often where homeowners get a little too enthusiastic. If you've got a fiberglass or acrylic tub, sometimes you can cut it into pieces with a reciprocating saw to make removal easier. Just be super careful not to hit any pipes or electrical lines hiding behind the wall. Cast iron tubs? Those are a whole different beast. They're incredibly heavy, and usually require a sledgehammer and a lot of muscle to break into manageable chunks. You'll definitely want a buddy for that, and make sure you've got proper safety gear – eye protection, gloves, and sturdy shoes are non-negotiable.
Once the old tub is gone, you'll have an open space. This is the perfect moment to check for any water damage, mold, or rot. If you find any, you absolutely, positively need to fix it before you put in the new tub. Don't just cover it up; that's just asking for bigger headaches down the road. Cleaning up the area, making sure it's bone dry, and clearing out debris are all things you can totally handle yourself.
When to Call a Pro (Seriously)
While you can certainly tackle the demolition and cleanup, there are a few areas where bringing in a professional, like West Covina Bathroom Solutions, is just plain smart. Here's what I always recommend leaving to the experts:
- Plumbing Modifications: Moving drain lines, adjusting water supply lines, or correctly installing new fixtures to prevent leaks. This stuff is absolutely critical.
- Subfloor Repair/Reinforcement: If your subfloor feels spongy, is damaged, or needs strengthening for a heavier tub, a pro knows how to do it right and make sure it meets code.
- New Tub Installation (especially heavy ones): Getting a heavy cast iron or stone resin tub into place, perfectly level, and properly sealed is much trickier than it looks. Even a tiny mistake can lead to leaks or an unstable tub.
- Tiling: If your project involves new tile surrounds, getting those perfectly waterproofed and laid out takes real skill and specific tools.
Look, I've seen plenty of DIY projects go south because someone tried to save a few bucks on the most important steps. A small leak from a poorly installed drain can cause thousands of dollars in damage over time. It's just not worth the risk, is it?
After the Install: Finishing Touches & Maintenance
Once the new tub is in, plumbed, and sealed, you're not quite finished. You'll need to caulk all the seams where the tub meets the wall or floor. Grab a good quality silicone caulk that's mildew resistant. Apply a smooth, continuous bead, and tool it nicely for a watertight seal. Let it cure completely before you even think about filling that tub with water.
For ongoing maintenance, just keep it clean. Don't use abrasive cleaners on acrylic or fiberglass tubs, as they can scratch the surface. A soft cloth and mild soap are usually all you need. If you've got a tile surround, keep an eye on the grout for any cracks or discoloration; re-grout as needed to keep moisture out of your walls.
Replacing a bathtub is a really satisfying project that can totally refresh your bathroom. Just know your limits, plan carefully, and don't hesitate to call in a professional for the parts that truly demand expertise. You'll be enjoying that new tub in no time.